Archive and Protect
Since I started this site in 2009, I’ve had a number of different revisions of the “Here’s the definitive way to safely archive your work”, which should tell you all you need to know about how tricky this subject can be. With that in mind, to mark the site refresh, here’s 2021 version that will hopefully continue to work for some time to come.
As the common I.T. mantra goes, it’s not a case of “if” a drive will fail, but “when”. As regular (non-SSD) drives contain moving parts, they will at some point grind to a stuttering halt, taking all your lovely artwork with it. It’s just a fact. The only way to come to terms with that is accept it and ensure you’re prepared. As the price of SSD drives drops and capacity increases, it won’t be long before we’re storing our images on these but they also come with their own unique set of issues to consider.
Due to the prohibitive cost and relatively small size of SSD drives, I still stick with SATA drives, in particular the Western Digital “Blue” drives. They seem to offer reliability and good read/write speeds while being suitably priced.
SSD drives, while offering incredible speeds in your laptop and not having those moving parts I mentioned above, are still susceptible to failure. The folks at Backblaze posted this summary if you don’t want to take my word for it.
The other phrase worth noting here is that if your data is on one drive, it’s not an archive, but simply stored insecurely. In an ideal world, your well-organised library needs to be consist of multiple copies in multiple places in multiple systems. Let’s work through these and see what we can do.
STEP ONE: FILE AND FOLDER NAMING
I only save the raw .nef files from my camera. There. I've said it. I know that people get the fear about "what if that format isn't supported in the year 2095?” etc but I think enough people shoot in the raw formats used by the larger camera companies to mean that we'll be looked after in years to come. I once considered converting the files to .dng, the open raw format, but it would take many, many days and I'd be terrified that they hadn't converted properly so would end up keeping both versions. I do actually shoot "jpeg fine" and .nef but only in case the story suddenly changes and I need to transmit live from the camera. During the ingestion process to my Macbook Pro using Photo Mechanic, I leave all the jpegs on the card, then format it. Speaking of formatting, I clear my cards and format them after every single job. I've never really understood how people can work with images from three weeks ago at the front of their image queue.
Once the images are on my Mac and have been processed, I copy them from a loose pending folder (called “RAW”) into a freshly-created named subfolder within a "To Archive" parent folder. The subfolder name will go along these lines; Initials, date, subject. For example, if I'd started my year by finally managing get a picture of the Loch Ness monster and Elvis browsing the reduced furniture fittings in a hardware store, I'd opt for "LSN2021-01-01 Loch Ness Elvis Presley Ikea", therefore applying a simple keyword to the folder.

Next up, what to do with the images, now they're safely nestled away in their new folder.
STEP TWO: DRIVES AND CADDIES
Every few days, I then use Carbon Copy Cloner to move the images from my laptop over to their new homes on the previously mentioned WD hard drives. Previously, I had been known to just drag and drop the images off the disk but using an app such as CCC means that the data is monitored for corruptions and faulty as it is transferred, sending me an email if it detects any issue during the automated process.
Within the app, I have a number of scripts set up that detect my archive drive and are ready to pull certain things from certain folders to their new locations with a simple click. Don’t worry if the word “script” strikes fear into your heart. They’re really easy to create and just follow the formula of selecting the source, selecting the destination and hitting clone.
As to where the images end up, in recent years, I’ve gone back to basics. Previous versions of this guide have included RAID systems and hardware caddies that duplicate the files across multiple disks etc but at the the start of 2017, I had the disaster that everyone fears; a massive data loss. As I work on an annual basis regarding my archive drives (images from 2019, 2020, 2021 etc), I had removed my 2016 drives from my RAID system and inserted the new drives for a fresh year. Needing to access something from the previous month, I reconnected the first of the two drives and was greeted by this horrifying sight.

Speaking with a data recovery company afterwards, they guess that some electrical surge had happened in the caddy that I was using which had corrupted nearly all of my work from the year. I ended up paying just under £1000 for about a month and a half of my images.
With that in mind, I decided that I wasn’t prepared to rely on hardware to do the job so now have two separate caddies that are not attached to my laptop at the same time to ensure that the data cannot be affected on both drives. One of the caddies is a simple slot-in tray device, while the other is a four bay drive, set up in a non-RAID system to ensure that each drive remains independent at all times.
STEP THREE: THE CLOUD
Previously, I looked into the options and was directed to two companies; Backblaze and Crashplan.
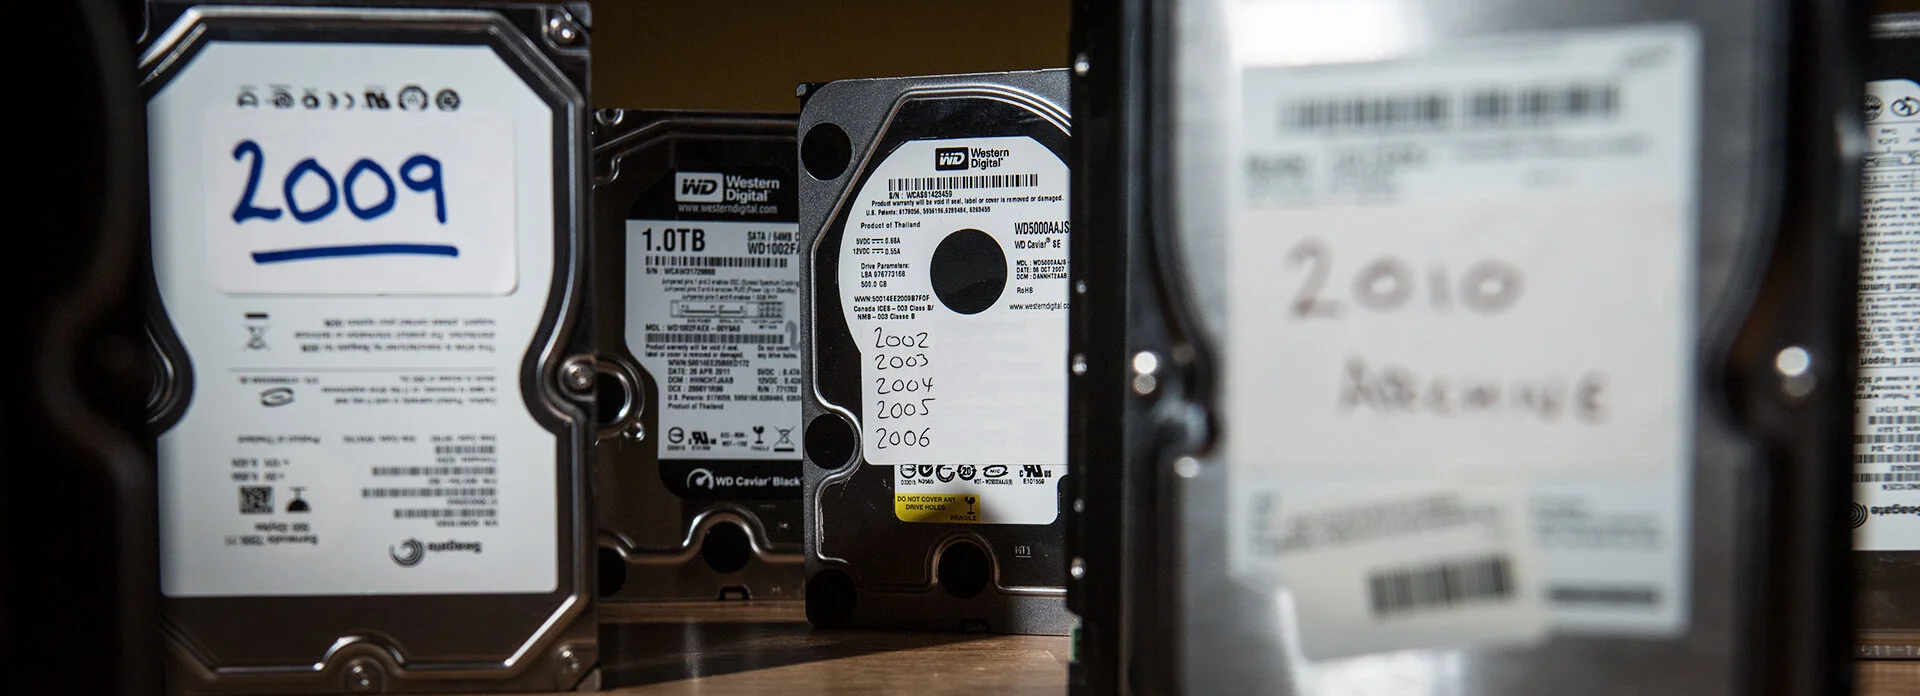
After my earlier praises for Backblaze and their knowledge-sharing when it comes to drives, I opted to give them a go first. For a small fee, you can throw as much data into their online storage as you like which sounds perfect. However, it was only after uploading a few drives that I really started to become annoyed with their Achilles heel. When you choose to upload the data from an external drive, you have to re-connect the drive at least once every 30 days and leave it running for a few hours, or all of the files that you tediously uploaded is wiped, never to be seen again. At first, this seemed a minor issue but as I have a drive for each calendar year, dating back to 2002, that would mean having to mount eighteen drives simultaneously and let them sit on my desktop for half a working day every single month, just to ensure it doesn't get deleted. Nicht so gut.
That led me onto Crashplan. It was essentially the same thing but offered that all important difference of assuming that if you upload something, you plan on keeping it. The contents of your external drives would remain untouched, even if you never connect the drive again, as long as you kept paying the low subscription fee. Bingo. I duly uploaded four or five years of data (well over 10tb) and then they closed their service to home users. Thanks guys.
Since then, despite knowing that it’s what I should be doing, I’ve struggled to find a company that I can trust to do the job.
STEP FOUR: GEOGRAPHIC SECURITY
With your images spread across two drives and potentially floating above your head in the cloud, you may feel pretty pleased with yourself but there are a few extra things to consider yet.
Firstly, if a meteor struck your house tomorrow, taking out your desk and workstation, are both of those drives from 2014 snuggled up next to each other? If so, you just lost them both. Geography is an important factor in your strategy. Keep one drive in your house for access to your images but keep that second physical copy anywhere else that you know is secure, be it your friend’s house, your parents house or even your place of work. As long as one nasty incident won't take out both, you're that extra step closer to being secure.

STEP FIVE: MAINTAIN YOUR DRIVES
To return to the start, if there are moving parts in an item, it will fail at some point. Because of this nasty fact of life, you have to do a few bits of housekeeping to give you as much warning as possible of any brewing trouble.
Firstly, spin that drive up every now and again. Like humans, if you leave one sat in bed all day, it'll start seizing up and become rather unfit. Thankfully, it doesn't need a daily boot but once every year should be enough to keep things moving.
Due to the way that the price of drive space is constantly falling, it also pays to consider replacing your drives every four or five years. Some of my older drives are only 250GB, a size that you can't even buy anymore so I could fit two or even three years onto a single £45 Western Digital Blue drive. That's a bit of a no-brainer to me. It may result in more drives to look after but it’ll be worth it.
If you don't want to automatically splash the cash, there are bits of software that can help you make up your mind about whether or not action needs to be taken to save your precious photos. I use a bit of software called DriveDx that can test your drives, look for faults, give you a visual score on the current state of the unit and even email you if a running drive begins to show any signs of a problem. For £20, it's well worth your time. In the process of writing this post, I scanned all of my drives and found a number of issues including that one of my 2010 archive drives was flashing up at 60% reliability. Thanks DriveDx!

I hope this has been of some use to you. Obviously this all applies to any form of valuable data, be it photographs, video, music or documents. When you look back to the archives of negatives and film reels that have survived in museums and storerooms for decades, it's our responsibility to ensure that we protect the images of today for the generations of tomorrow. Now get to it.